Drip irrigation is a highly efficient method of watering crops, delivering water directly to the plant roots and minimizing waste. Building a DIY drip irrigation system can be a cost-effective solution for farmers and gardeners looking to optimize water usage and improve crop yields. This article will guide you through the process of constructing your own system, highlighting the necessary materials, steps, and maintenance tips to ensure its effectiveness.
Understanding Drip Irrigation
Drip irrigation, also known as trickle irrigation, involves the slow and precise delivery of water to the soil at the base of plants. This method reduces water evaporation and runoff, making it an environmentally friendly and efficient way to irrigate crops. By targeting the root zone, drip irrigation ensures that plants receive the right amount of moisture, promoting healthy growth and reducing the risk of diseases caused by overwatering.
Benefits of Drip Irrigation
There are several advantages to using a drip irrigation system:
- Water Efficiency: Drip irrigation uses significantly less water compared to traditional methods, such as sprinklers or flood irrigation. This is particularly beneficial in areas with limited water resources.
- Improved Plant Health: By delivering water directly to the roots, plants receive consistent moisture, reducing stress and promoting healthier growth.
- Reduced Weed Growth: Since water is applied only to the root zone, there is less moisture available for weeds to thrive.
- Flexibility: Drip systems can be easily adapted to different types of crops and garden layouts.
- Cost-Effective: While initial setup costs may vary, the long-term savings on water bills and increased crop yields can offset these expenses.
Materials Needed for a DIY Drip Irrigation System
Before you begin constructing your drip irrigation system, gather the following materials:
- Mainline Tubing: This is the primary conduit for water distribution. Choose a durable, UV-resistant tubing that can withstand outdoor conditions.
- Drip Emitters: These are small devices that control the flow of water to each plant. Emitters come in various flow rates, so select ones that match your plants’ water needs.
- Connectors and Fittings: These components are used to join sections of tubing and direct water flow. Common types include tees, elbows, and couplings.
- Pressure Regulator: A pressure regulator ensures that water pressure remains consistent throughout the system, preventing damage to emitters and tubing.
- Filter: A filter removes debris and particles from the water, preventing clogs in the emitters.
- End Caps: These are used to seal the ends of the tubing, ensuring water flows through the emitters.
- Stakes or Hold-Downs: These are used to secure the tubing in place along the ground.
Steps to Build Your DIY Drip Irrigation System
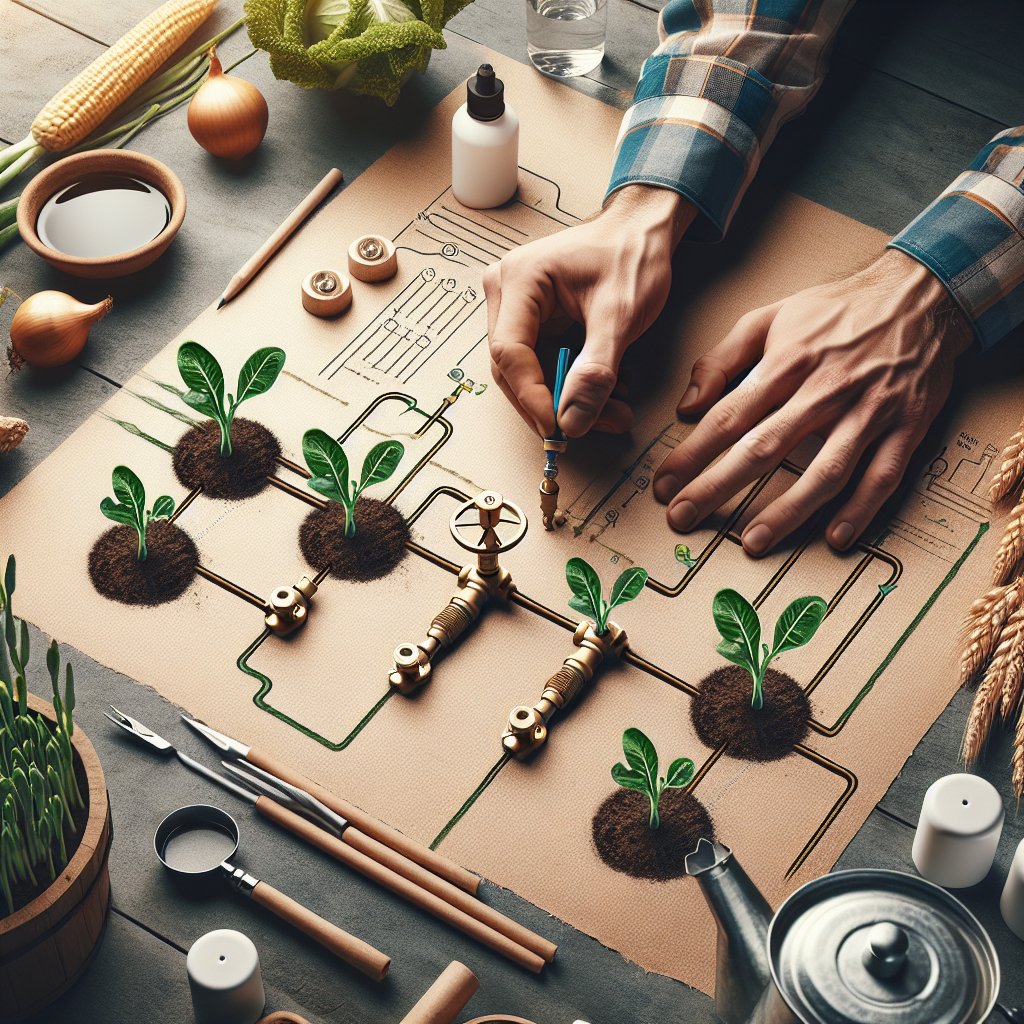
Step 1: Plan Your Layout
Begin by sketching a layout of your garden or field, noting the location of each plant or row of crops. Determine the length of tubing needed and the number of emitters required for each plant. Consider the water source location and how you will connect it to the system.
Step 2: Install the Mainline Tubing
Lay out the mainline tubing along the rows of plants, using stakes or hold-downs to secure it in place. Ensure the tubing is positioned close to the base of each plant for optimal water delivery. Cut the tubing to the desired length using a sharp utility knife.
Step 3: Attach Connectors and Fittings
Use connectors and fittings to join sections of tubing and create branches that lead to different areas of your garden. Ensure all connections are secure to prevent leaks. If your layout includes sharp turns, use elbow fittings to maintain water flow.
Step 4: Install the Drip Emitters
Punch holes in the mainline tubing at the base of each plant using a hole punch tool. Insert the drip emitters into the holes, ensuring they are firmly seated. Choose emitters with appropriate flow rates for each plant’s water requirements.
Step 5: Connect to the Water Source
Attach the mainline tubing to your water source, such as a garden hose or faucet. Install a pressure regulator and filter at the connection point to ensure consistent water pressure and prevent clogs. Use a timer to automate watering schedules, if desired.
Step 6: Test the System
Turn on the water supply and check for leaks or blockages in the system. Ensure that each emitter is delivering water at the correct rate. Adjust the placement of emitters or tubing as needed to achieve even coverage.
Maintaining Your Drip Irrigation System
Regular maintenance is essential to keep your drip irrigation system functioning efficiently. Here are some tips to ensure its longevity:
- Inspect for Leaks: Periodically check the system for leaks or damaged components. Repair or replace any faulty parts promptly.
- Clean the Filter: Regularly clean the filter to remove debris and prevent clogs. This will help maintain consistent water flow.
- Flush the System: Occasionally flush the system with clean water to remove any sediment or buildup in the tubing and emitters.
- Adjust for Seasonal Changes: Modify the watering schedule and emitter flow rates based on seasonal weather conditions and plant growth stages.
- Winterize the System: In colder climates, drain the system and store components indoors during the winter months to prevent damage from freezing temperatures.
Conclusion
Building a DIY drip irrigation system is a practical and rewarding project that can significantly enhance your agricultural practices. By following the steps outlined in this article, you can create a customized system that meets the specific needs of your crops, conserves water, and promotes healthy plant growth. With regular maintenance and adjustments, your drip irrigation system will serve as a reliable tool for sustainable farming and gardening.